
A Note on This Recipe
Real caramelized onions take time, and there’s no way around that. I’ve tried microwaving and air-frying to shortcut it; it doesn’t work. The sugars need slow, steady heat to develop properly.
What can be sped up is the front end. Onions are about 90% water, and most of the early cook time is really just cooking that water off. Starting them covered in a dry pan lets them steam in their own moisture instead of slowly releasing it in oil — it shaves about 10-15 minutes off the usual 45-60 minute process.
How to Make It

Slice the Onions
Sweet onions work best — they’re milder and softer, so they caramelize faster and taste less sharp even before they’re fully cooked down. Slice thin and even so they cook at the same rate.

Steam Them, Covered
Add the sliced onions to a dry nonstick pan over medium heat — no oil yet. Cover the pan. The lid traps the steam from the onions’ own moisture, so they soften faster than they would uncovered.
After 6-8 minutes, they’ll soften and turn translucent. Once most of the water has cooked off, you’ll start to see light browning on the bottom of the pan — that’s your cue to move to the next step.

Add Fat and Start Stirring
Add a drizzle of olive oil and a knob of unsalted butter. This is where constant stirring starts, and the lid comes off — keep the onions moving so they caramelize evenly instead of burning in spots.

Season
Toward the end, season well with salt — skipping it or under-seasoning is the difference between onions that taste flat and ones that taste properly caramelized.
Altogether, from start to finish, you’re looking at about 30 minutes — closer to 40 if you like them deeply caramelized.

Serve
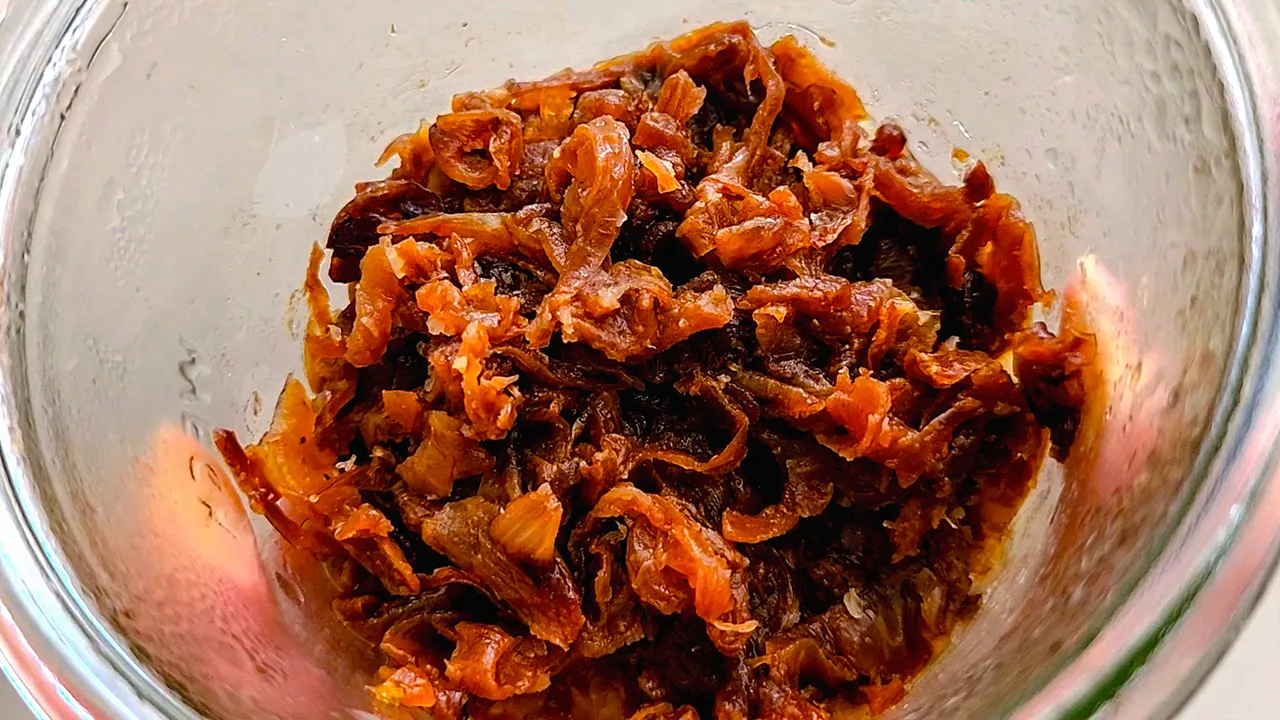
I like to take mine further than most recipes call for, until they’re jammy and any sharpness is completely gone.
That’s the version that works best as a spread — it’s great on toast or in a sandwich of any kind, from an egg salad sandwich to a scrambled egg sandwich, or alongside any savory protein.

Store
Let the onions cool completely before storing. Sealed in an airtight container, they’ll keep in the fridge for about 5 days. To freeze, portion them flat in a freezer bag or small containers — they’ll keep for up to 3 months, and flat portions thaw faster and let you break off just what you need.
Ingredients
- 3 small sweet onions
- 1 tbsp unsalted butter or to taste
- Drizzle of light olive oil
- Salt to taste
Instructions
- Slice the sweet onions thin so they cook evenly.
- Add the sliced onions to a dry nonstick pan over medium heat, cover, and let steam for 6-8 minutes, until softened and translucent.
- Uncover and add the butter and a drizzle of olive oil once most of the water has cooked off and light browning starts on the bottom of the pan. Stir constantly from here, keeping the onions moving so they caramelize evenly.
- Continue cooking, stirring often, until deeply browned and jammy — about 30 minutes for classic caramelized onions, closer to 40 for a deeply reduced, jammy texture.
- Season well with salt toward the end.
Watch the Recipe
Notes
- Sweet onions work best for this recipe — they’re milder and softer, so they caramelize faster.
- Covering the pan for the first steaming step is what shaves time off the total process; don’t skip it.
- A splash of balsamic vinegar is optional near the end for extra depth.
- For a deeply caramelized, jammy texture (best for spreading), let it go closer to 40 minutes rather than stopping at the first sign of caramelization.
- Store in an airtight container in the fridge for up to 5 days, or freeze in flat portions for up to 3 months.
Leave a Reply